Our first daughter turned 2 in the middle of December and a little thing like having a second daughter was not going to stand in my way of throwing her a fabulous party. However, having a newborn does complicate party preparations a bit. So, it took a little while to get this stuff up. First thing first though- the invitations!
I actually finished these the day I was induced (I was late again!) and mailed them the day we got out of the hospital.
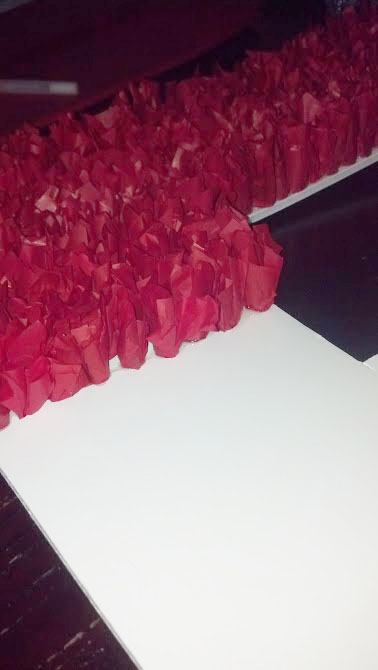
Elmo is a theme that is surprisingly difficult to make fun for kids AND sophisticated for the adults. I felt that most of the Elmo party stuff you can buy is good for just kid parties, but doesn't fit the bill when it will be mostly adults. So, these hand made invitations had to help set the tone.

I started by cutting the eyes, nose and mouth with a 1 inch circle cutter i had lying around. Then cut out the heads by hand and hole punched black paper for the pupils. After putting them all together I created the text and spaced it out to account for all the room I needed to later add the Elmo head.


I actually finished these the day I was induced (I was late again!) and mailed them the day we got out of the hospital.
Elmo is a theme that is surprisingly difficult to make fun for kids AND sophisticated for the adults. I felt that most of the Elmo party stuff you can buy is good for just kid parties, but doesn't fit the bill when it will be mostly adults. So, these hand made invitations had to help set the tone.
I started by cutting the eyes, nose and mouth with a 1 inch circle cutter i had lying around. Then cut out the heads by hand and hole punched black paper for the pupils. After putting them all together I created the text and spaced it out to account for all the room I needed to later add the Elmo head.


The invitations were a huge success and everyone loved how creative and different they were. I have gotten so many compliments on the caliber and the personal touch. One thing I always make sure I include with the invitations is a custom made email for people to reply to. I think it always adds an extra special little something!
Anyway, hope these inspire your own invitations! Thanks for reading!